Set up Google G Suite Single SSO
You must configure the Google G Suite SSO, and then submit the details to the MindManager Customer Admin Portal.
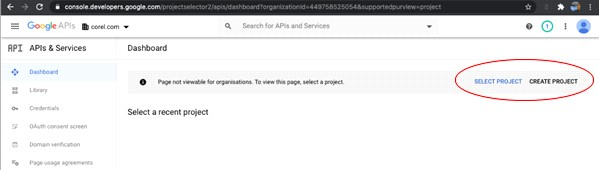
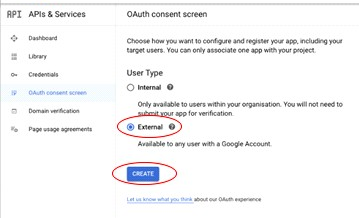
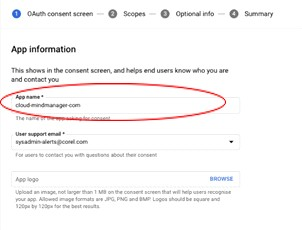
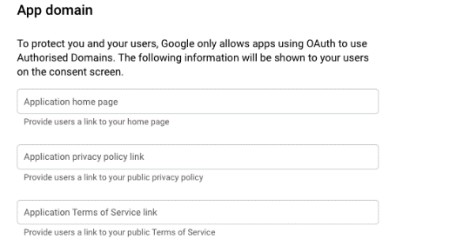
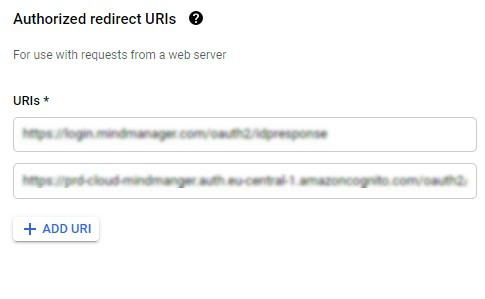
To configure Google G Suite SSO
14
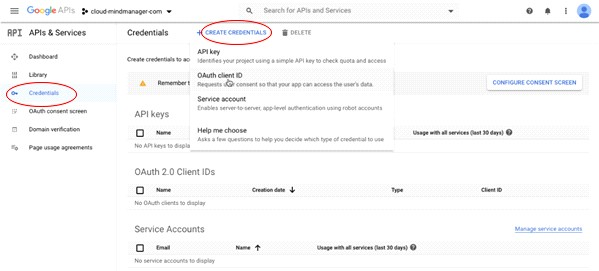
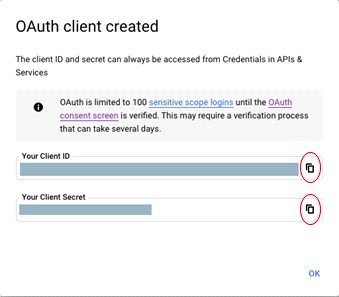
Copy the Client ID and Client Secret from the OAuth client created screen and paste it into the MindManager Customer Admin Portal.
15
In the OAuth client created page, click the Copy to clipboard button  in the Client ID and Client Secret fields.
16
Paste this information in a text file, which you’ll provide in the MindManager Customer Admin Portal SSO setup form.
The configuration is complete. Now, you must submit the setup details. For more information, see To submit setup details using the MindManager Customer Admin Portal.
To submit setup details using the MindManager Customer Admin Portal
3
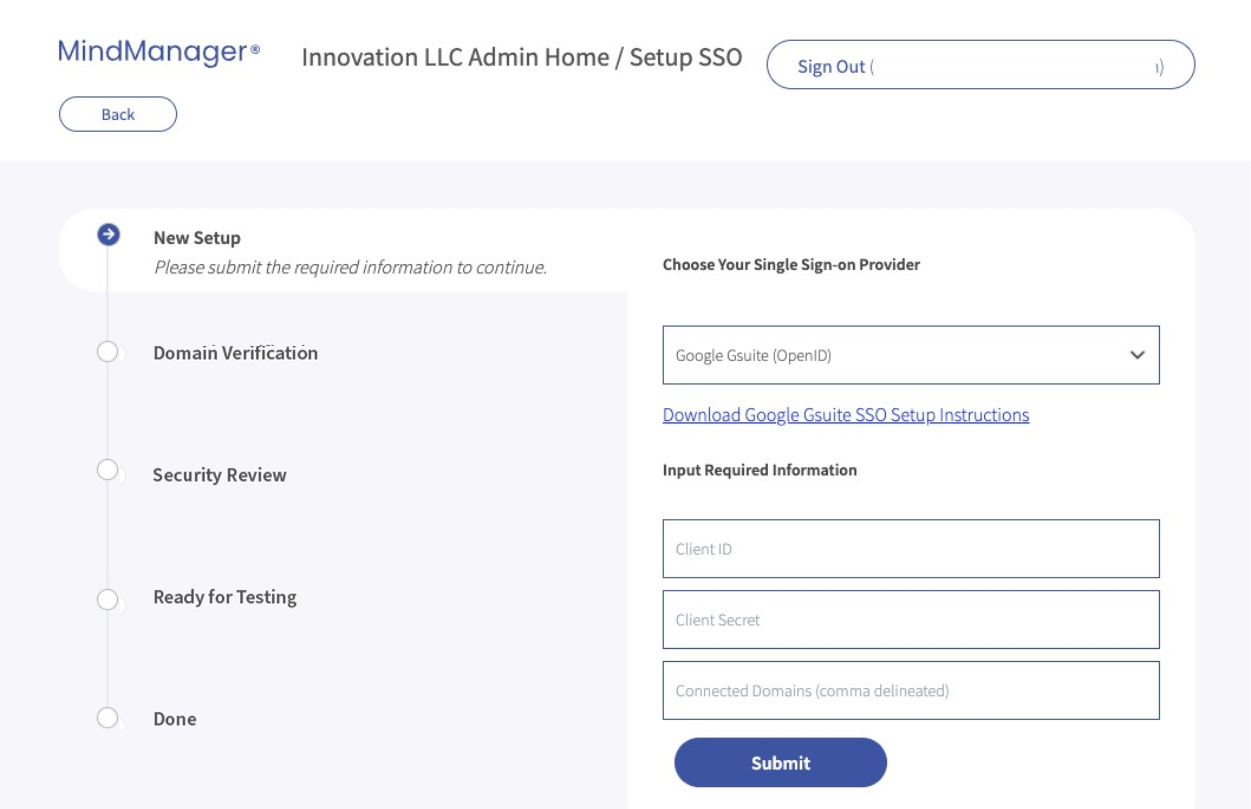
On the Setup SSO page, select Google G Suite from the Choose Your Single Sign-on Provider drop-down menu.
• ClientID — data copied in step 15 of To configure Google G Suite SSO.
• Client Secret — data copied in step 15 of To configure Google G Suite SSO.
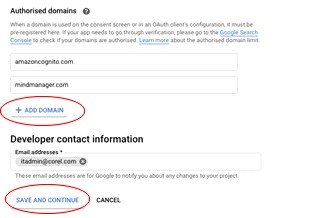
• Connected domains — the list of domains that you want to be redirected to use your organization’s Active Directory to sign in. This usually is the company domain, and you can include additional domains that fall under the same active directory. For example, Corel’s is corel.com, as well as mindmanager.com. Anyone with @corel.com or @mindmanager.com email address will be redirected to Corel’s Azure AD for sign-in.
You will receive an email confirmation from noreply@mindmanager.com that we have successfully received your setup request has been successfully submitted. Check your spam or junkmail folders if you haven’t received the confirmation eamil.
• Domain Verification — for more information, see Domain verification.
• Ready for Testing — once your submission is reviewed and approved, you will get another email notification that your setup is ready for testing. The status in the MindManager Customer Admin Portal is displayed as Ready for Testing. Follow the instructions in the MindManager Customer Admin Portal to test your setup. If everything is working as intended, setup is complete.