Set up Microsoft Azure SSO
You can use OpenID or SAML to set up Microsoft Azure SSO. You must create and configure the enterprise application. Then, you must submit your setup details in the MindManager Customer Admin Portal.
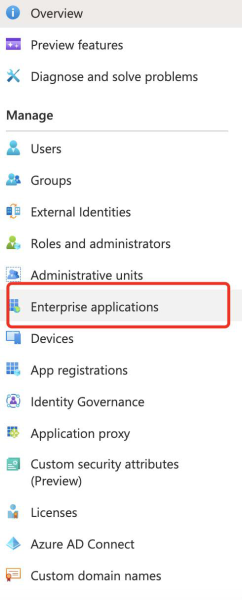
To create and configure the enterprise application (OpenID)

5
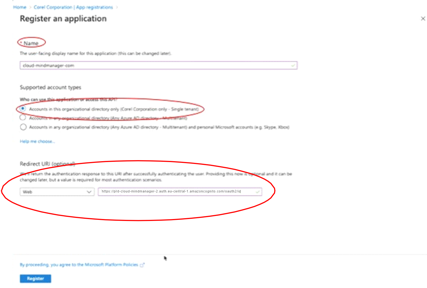
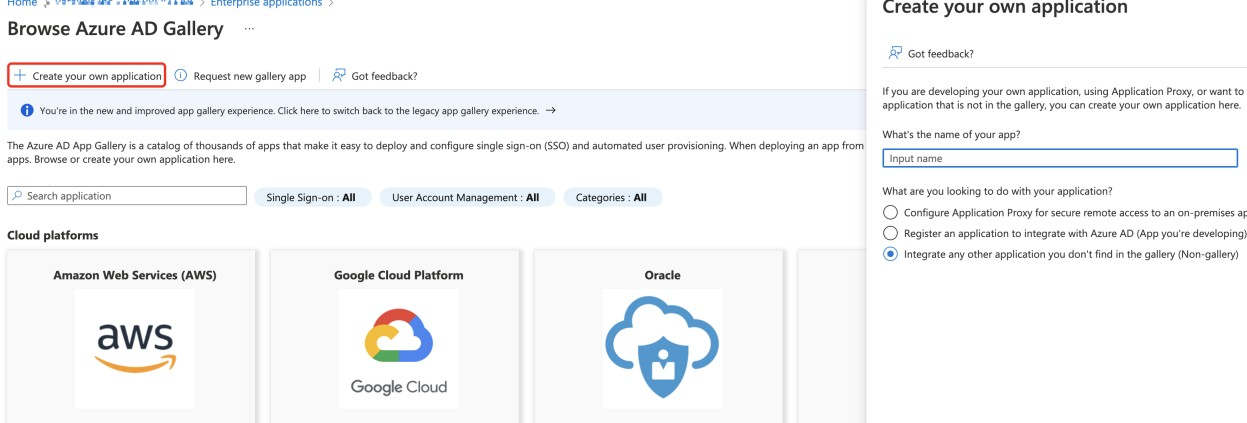
On the Register an application page, type the name that the user will see for this application in the Name box.
6
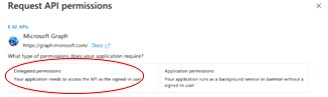
In the Supported account types area, enable the Accounts in this organizational directory only option.
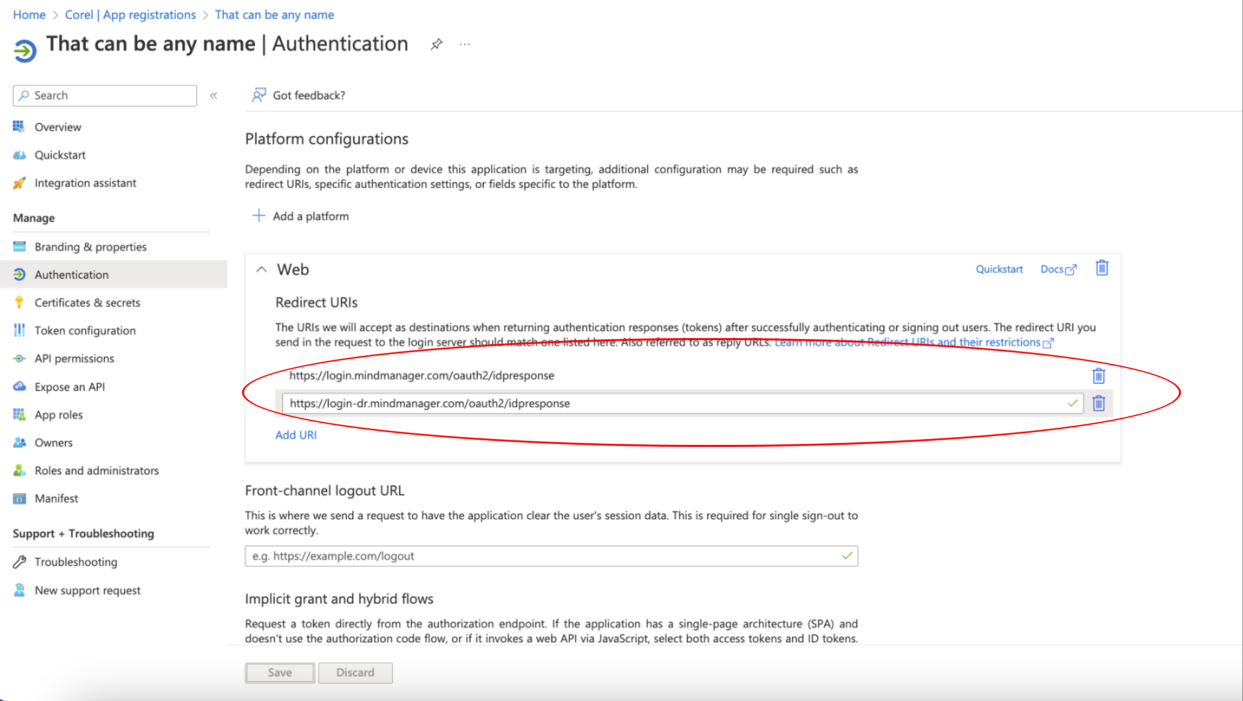
For example, if the current user pool page shows user-pool/oauth2/idpresponse, change it to https://user-pool/oauth2/idpresponse after you paste it into the Redirect URI box.
10
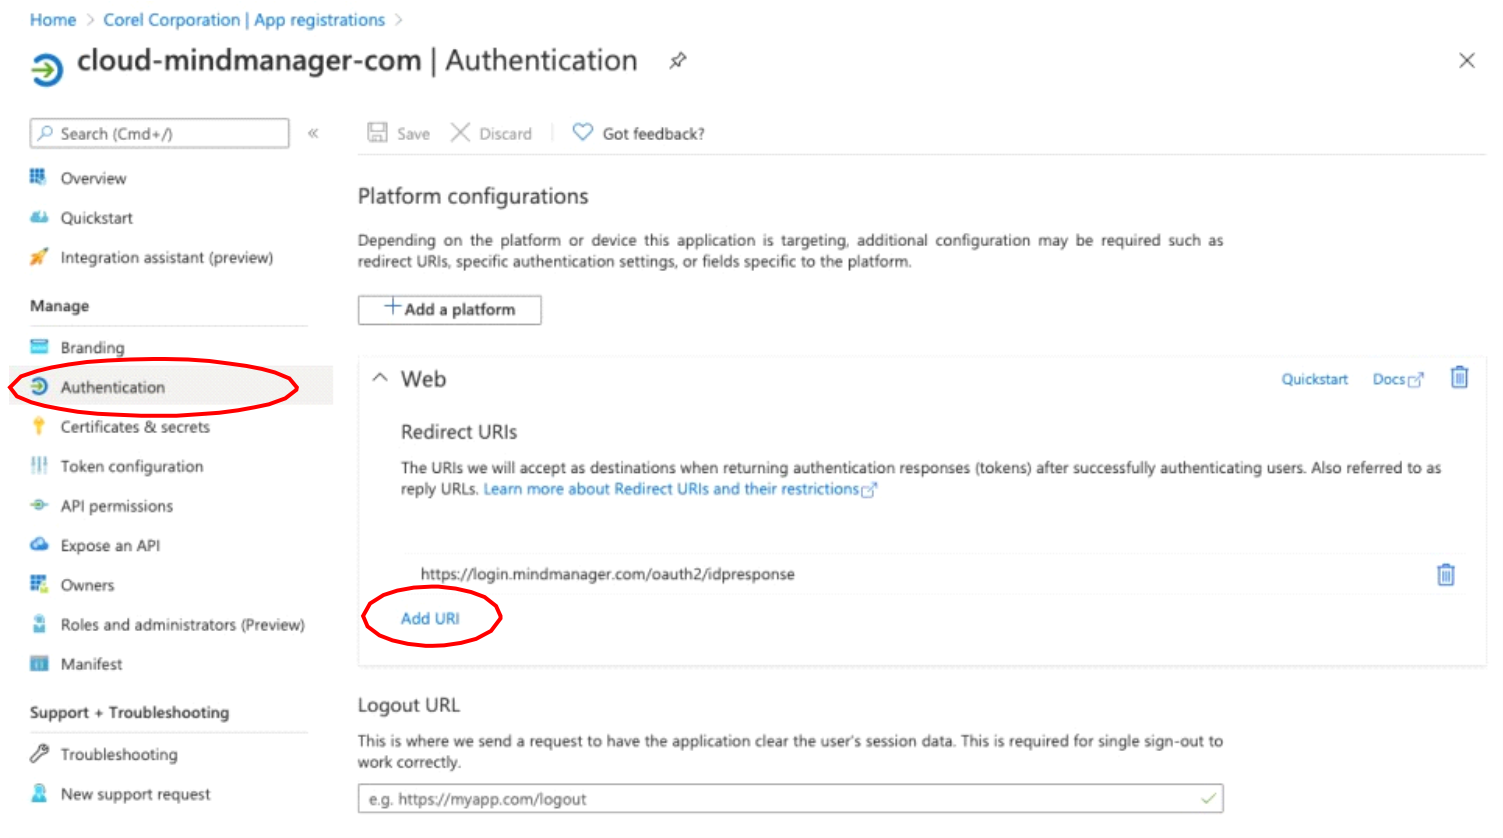
In the Platform Configurations area, you must enter the second redirect URI, which you access by clicking:
For example, if the current user pool page shows user-pool/oauth2/idpresponse, change it to https://user-pool/oauth2/idpresponse after you paste it into the Redirect URI box.
14
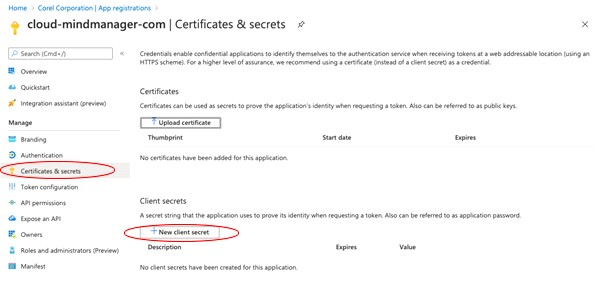
In the Add a client secret window, type a descriptive name for the secret (optional) and select an expiry option.

Note: Due to requirements of the Microsoft Azure system, the SSO connection with MindManager requires a secret token that has an expiration date. MindManager requires choosing an expiration date of 24 months or greater to minimize the frequency of updating your secret token with our team.
If your secret token expires before you provide a new one to the MindManager team, your users and Admins won’t be able to access the MindManager Customer Admin Portal or MindManager products.
1) Add a new client secret token to the existing app in Microsoft Azure that you are using for MindManager SSO.
2) Submit the new secret token through the SSO setup process in the MindManager Customer Admin Portal at least 4 weeks prior to the expiration date of your previous secret token to allow time for our team to update without service interruption.
16
In the Client secrets area, click the Copy to clipboard button  in the Value column corresponding to the secret that you created.
Paste this information in a text file, which you’ll provide in the MindManager Customer Admin Portal SSO setup form.

21
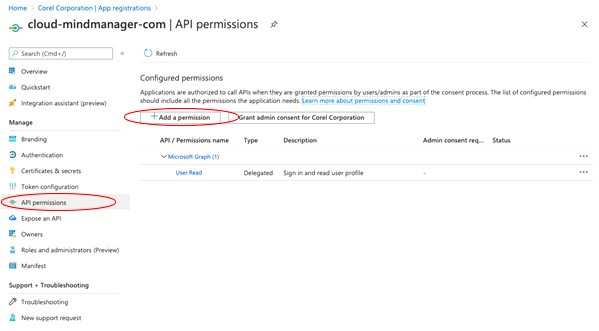
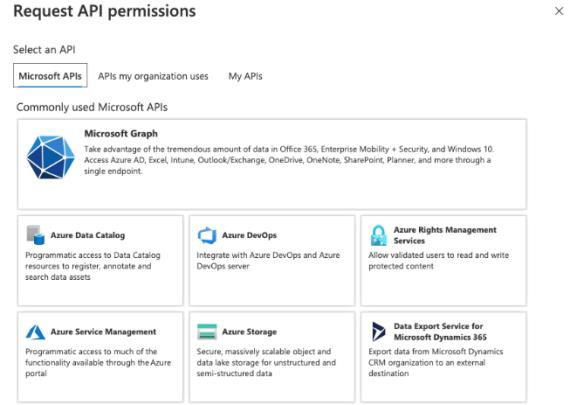
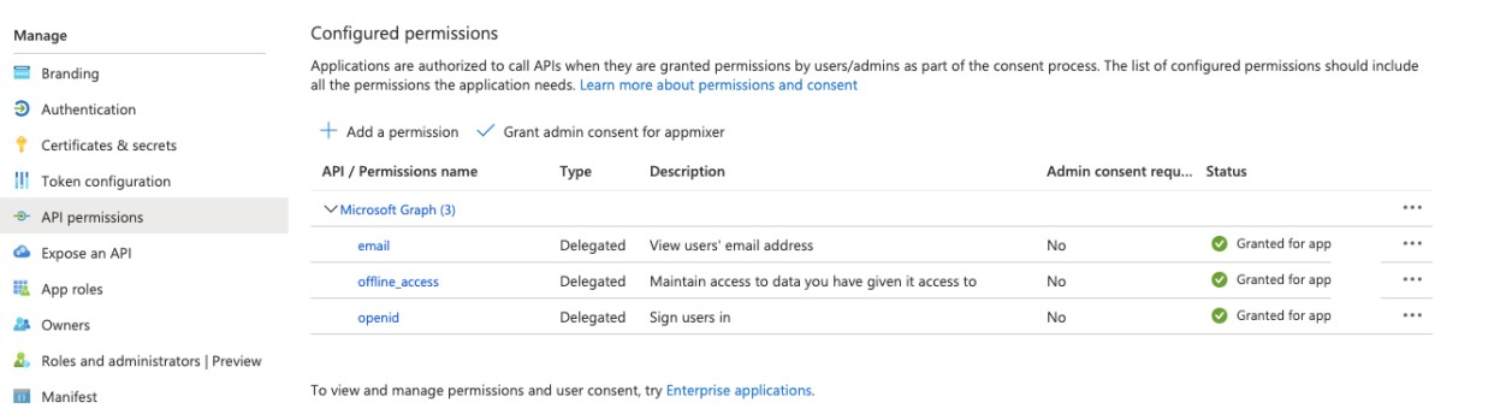
In the Openid permissions area, enable the email, offline_access, openid, and profile check boxes.
email, offline_access, openid are the minimum permissions required for SSO to work with MindManager.

Now, you must submit the setup details. For more information, see To submit setup details using the MindManager Customer Admin Portal.
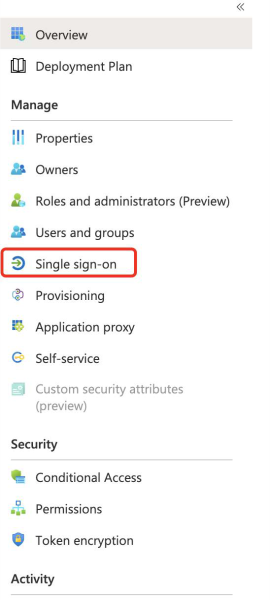
To create and configure the enterprise application (SAML)
11
In the Reply URL (Assertion Consumer Service URL) area, you must enter two reply URLs, which you access by clicking:
For example, if the current user pool page displays user-pool/oauth2/idpresponse, change it to https://user-pool/saml2/idpresponse
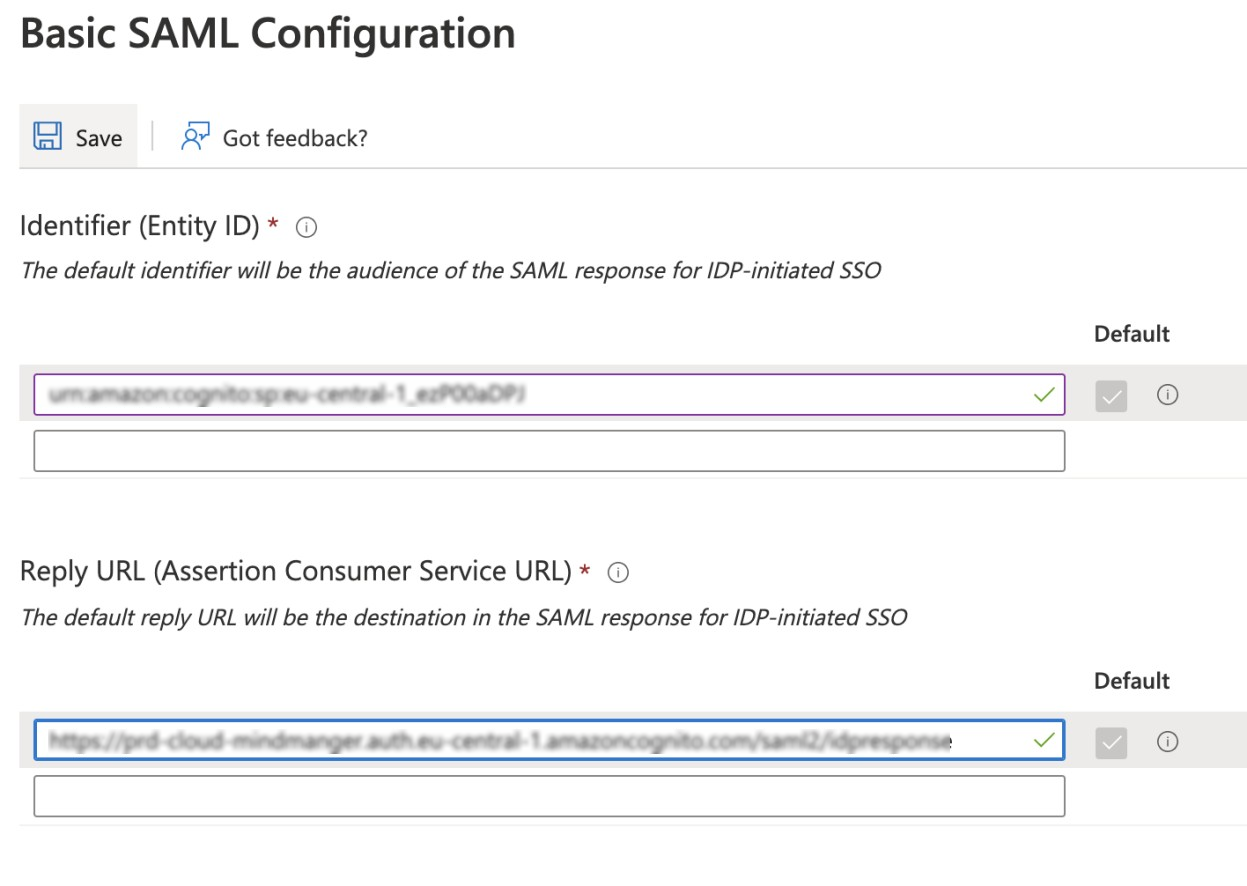
Note: Entity ID and URI shown are examples only. Ensure that you’re using the entity ID from step 10 get the latest URIs from the current user pool page. If you are updating an older MindManager SSO setup, use the entity ID from your current configuration.
16
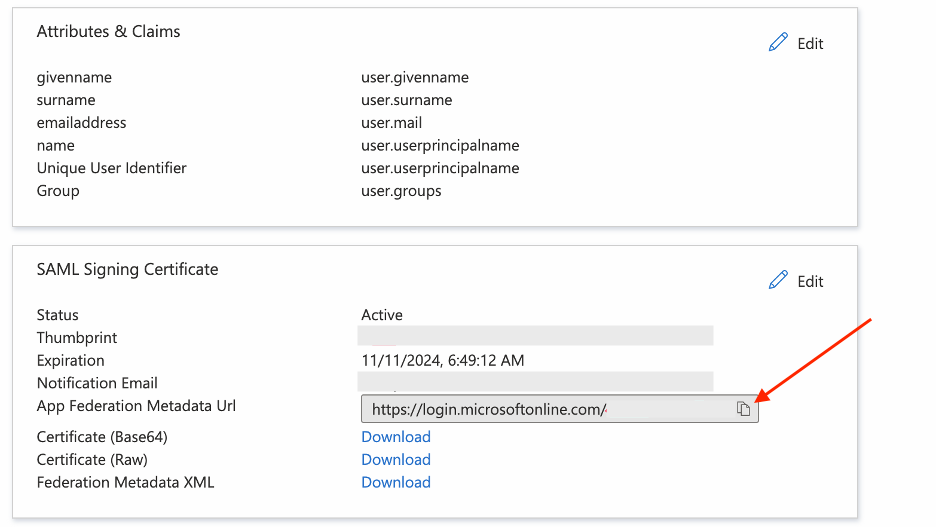
In the SAML Signing Certificate area, click the Copy to clipboard button in the App Federation Metadata Url field.
Paste this information in a text file, which you’ll provide in the MindManager Customer Admin Portal SSO setup form.
The SAML configuration is complete. Now, you must submit the setup details. For more information, see To submit setup details using the MindManager Customer Admin Portal.
To submit setup details using the MindManager Customer Admin Portal
3
On the Setup SSO page, select one of the following from the Choose Your Single Sign-on Provider drop-down menu.
4
On the Setup SSO page, input the list of domains that you want to be redirected to use your organization’s Active Directory to sign in. This usually is the company domain, and you can include additional domains that fall under the same active directory. For example, Corel’s is corel.com, as well as mindmanager.com. Anyone with @corel.com or @mindmanager.com email address will be redirected to Corel’s Azure AD for sign-in.
• Client Secret — value found on the Certificates & secrets page in the Value column in Microsoft Azure, the information copied in step 19 of To create and configure the enterprise application (OpenID).
• App Federation Metadata Url — data copied in step 16 of To create and configure the enterprise application (SAML).
You will receive an email confirmation from noreply@mindmanager.com that we have successfully received your setup request has been successfully submitted. Check your spam or junkmail folders if you haven’t received the confirmation eamil.
• Domain Verification — for more information, see Domain verification.
• Ready for Testing — once your submission is reviewed and approved, you will get another email notification that your setup is ready for testing. The status in the MindManager Customer Admin Portal is displayed as Ready for Testing. Follow the instructions in the MindManager Customer Admin Portal to test your setup. If everything is working as intended, setup is complete.